1.31.2012

Coming Soon {The Heart Project}

Starting 
February 1
and running through 
February 29
an amazing group of bloggers is working together to bring you 


The Heart Project is a collection of 100 (plus) heart activities in one book

You will be able to purchase the book two ways:
1. A $5 eBook
2. A $20 soft cover book
proceeds from both books will go directly to
The American Heart Association

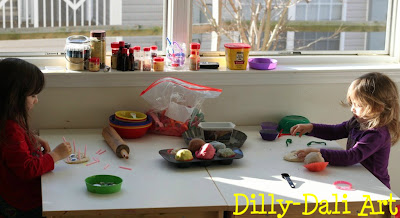
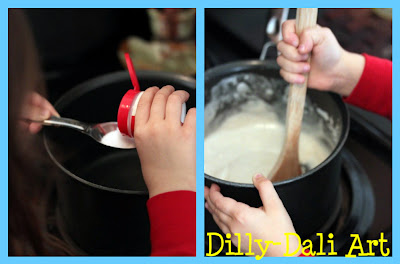
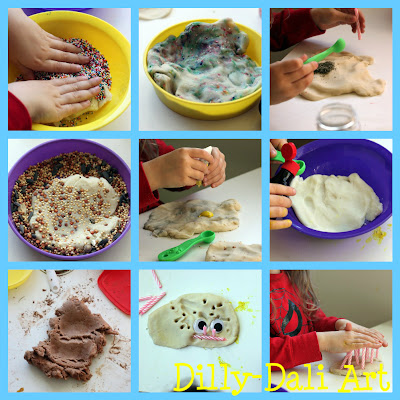
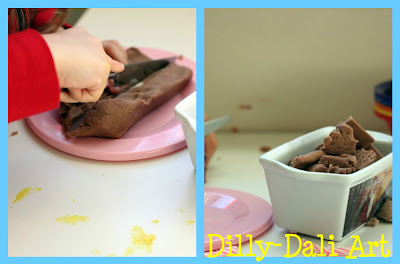
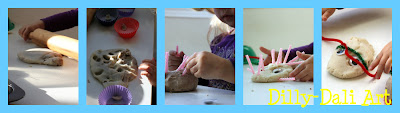
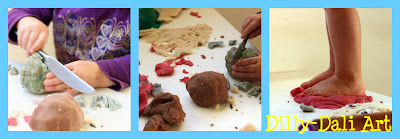
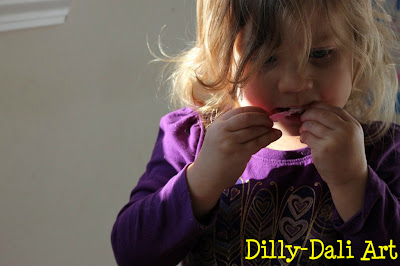
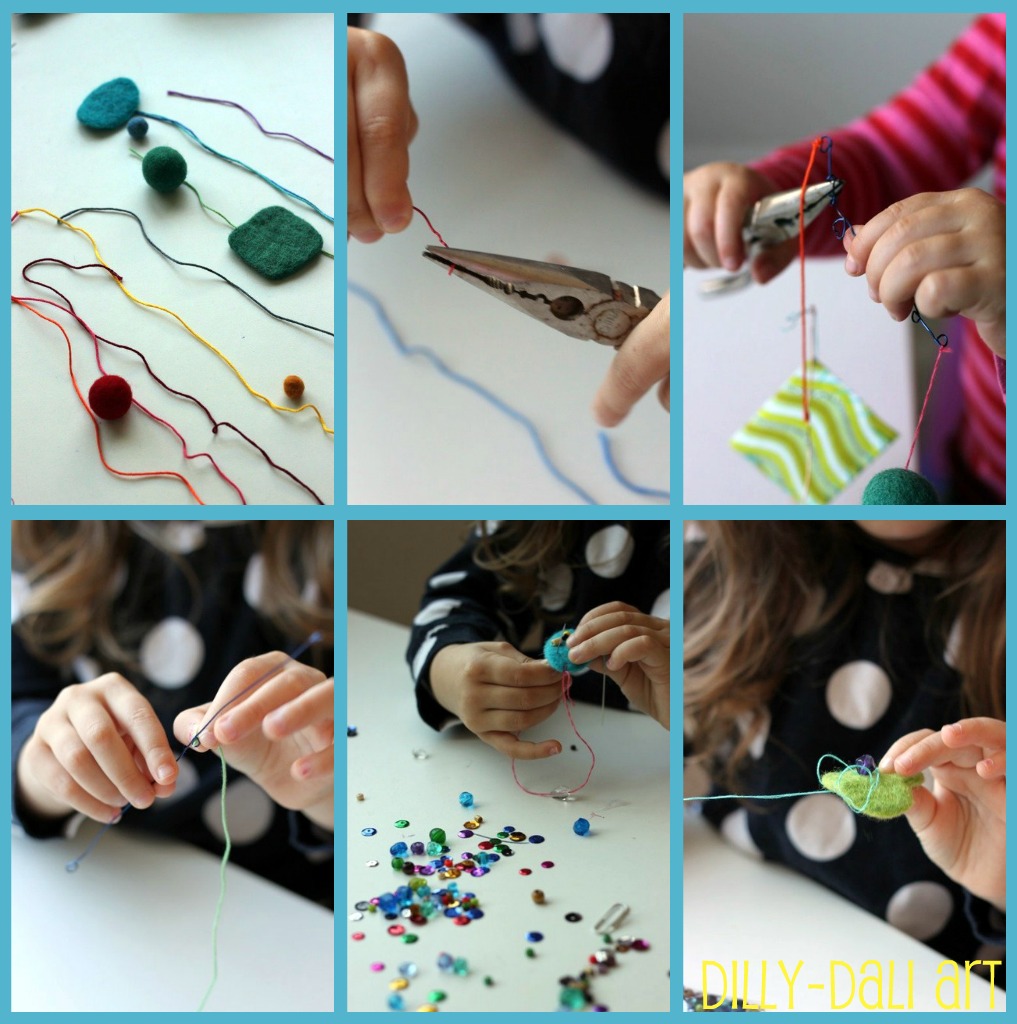
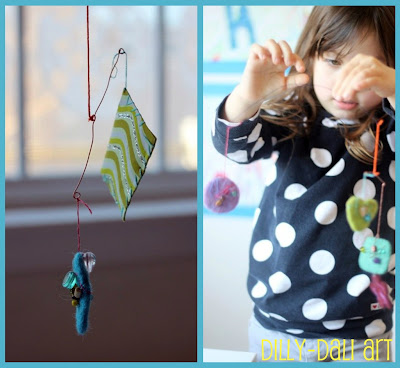
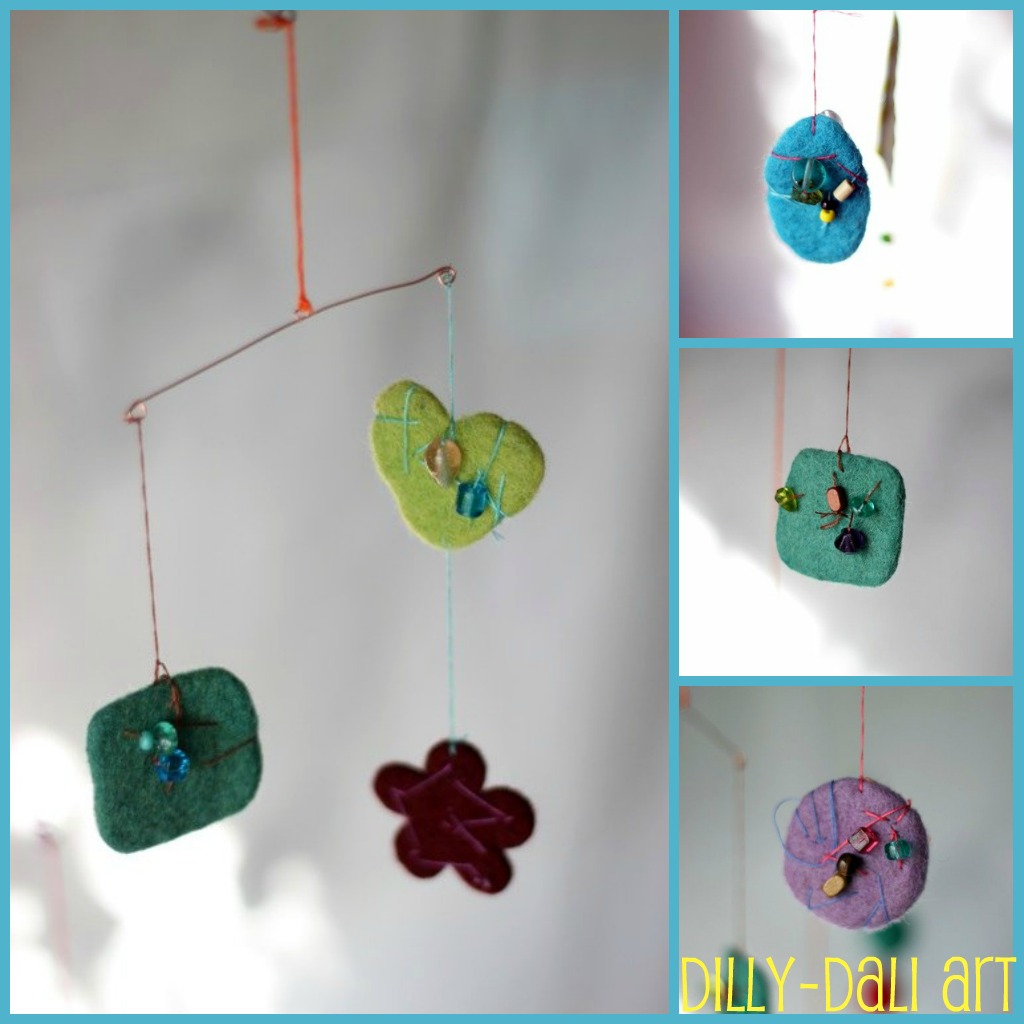
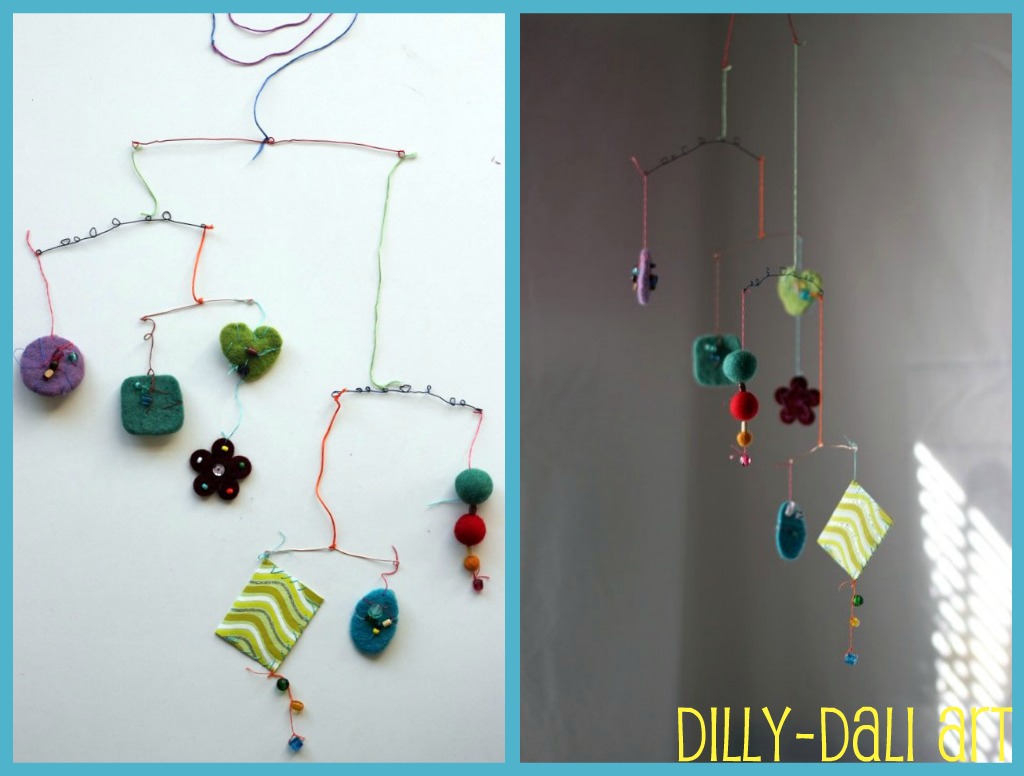
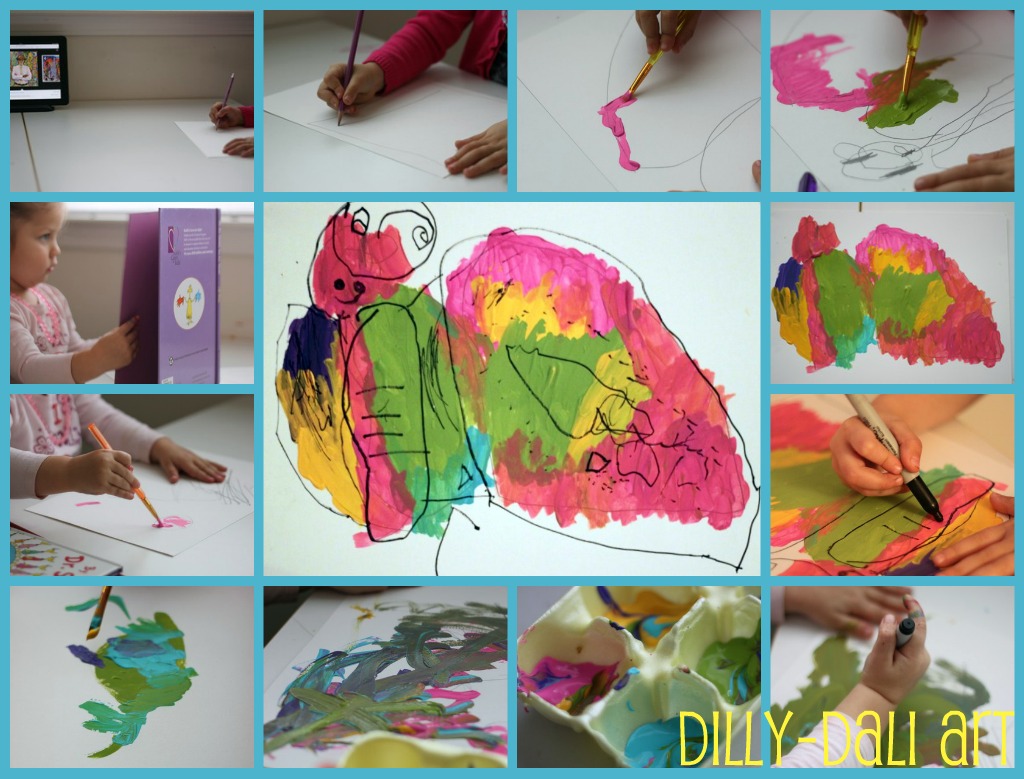
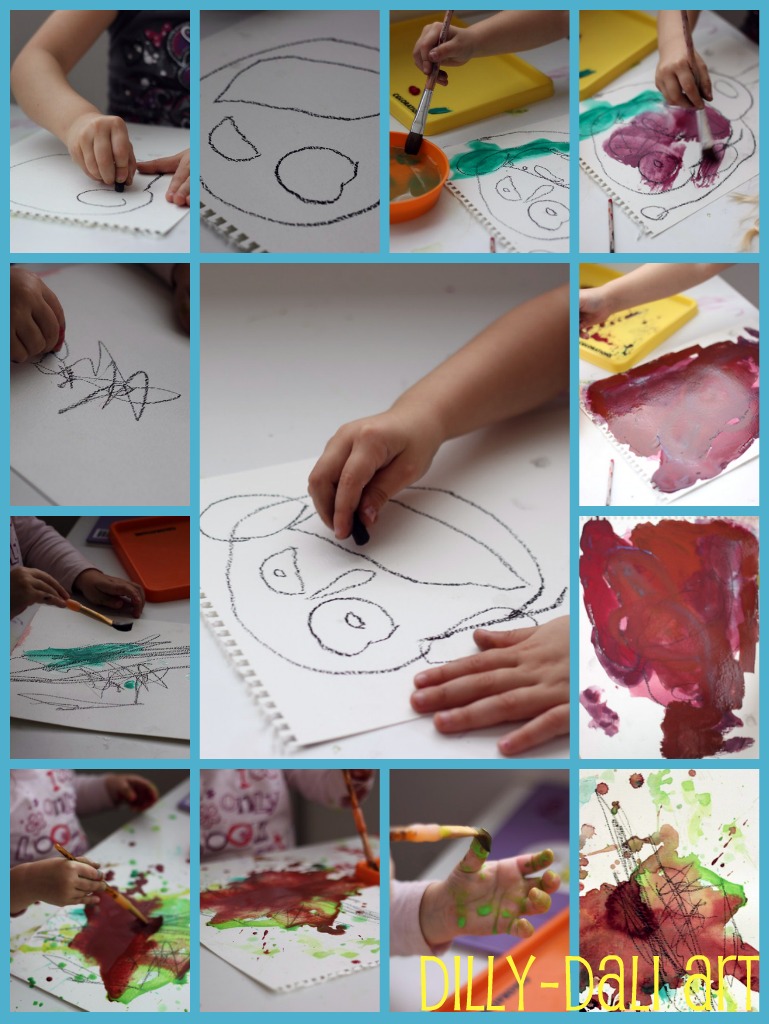
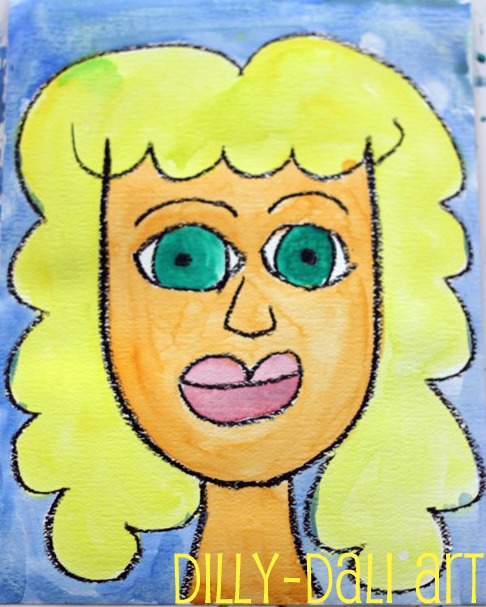
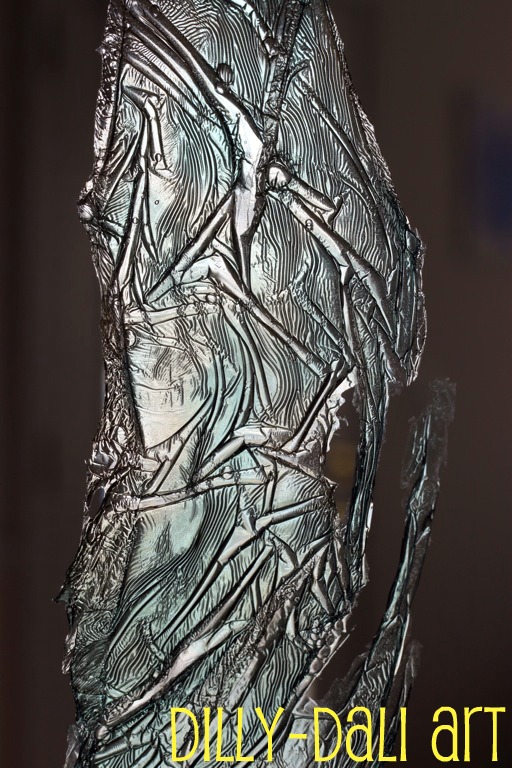
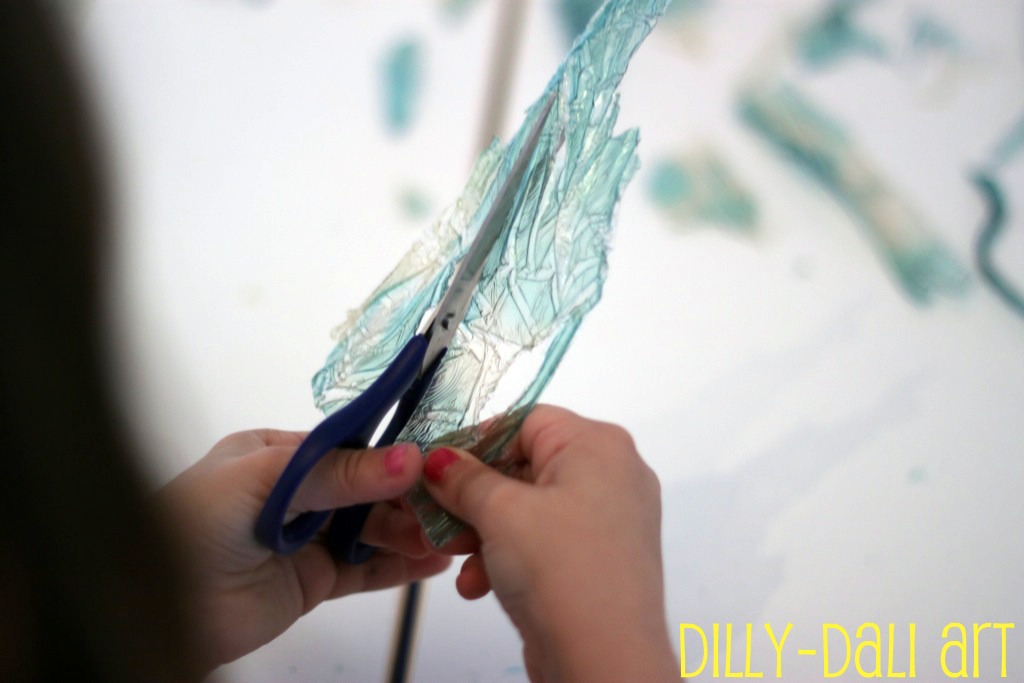
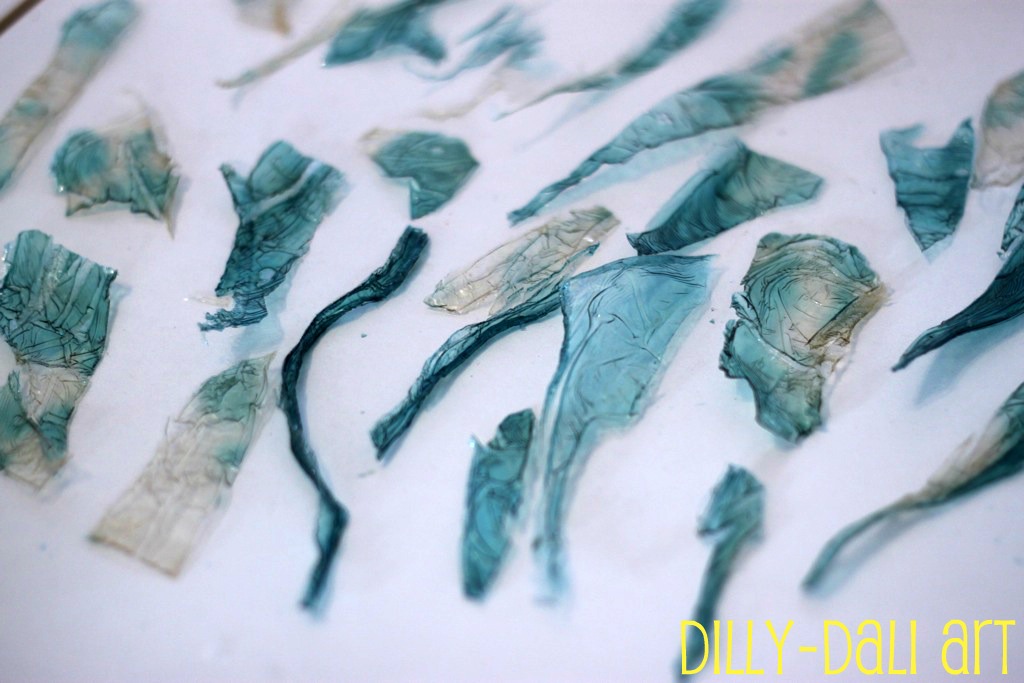
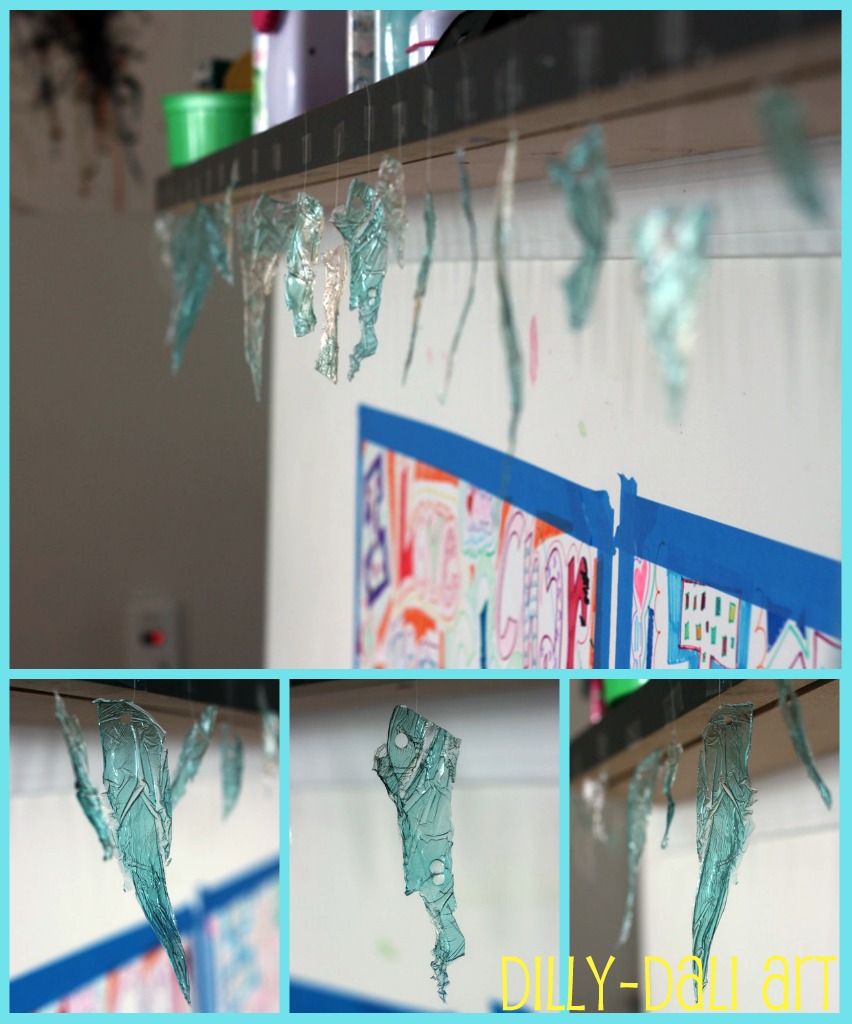
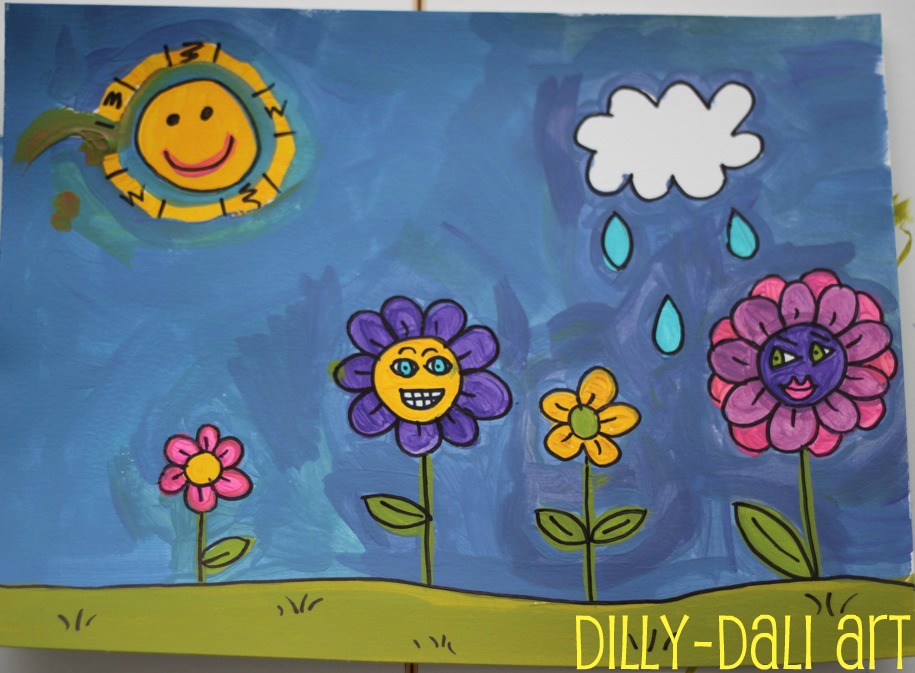
Here's a sneak peek!


If you thought the book is amazing
just wait until you hear about the sponsors that are on board!

Craftprojectideas.com
Melissa & Doug
and
Fudoo Boards

and 
quite a few of the bloggers are hosting giveaways on their blogs
from Feb 1-Feb 14
here is the complete list of scheduled giveaways

Be sure to tune in on February 1 to find out more or purchase your book!

If you would like to make a donation without purchasing a book,
 you can do so by clicking the donate button
Thank You!

List of all bloggers that donated their time and energy to help make this eBook possible
hands on : as we grow
A Little Learning for Two Among Many Blessings
Angelique Felix
At Home with Ali Broken Treasures
Busy at Home
Busy Kids Happy Mom Carrie Saindon's Photo Journey
Child Central Station
Classified: Mom Classroom Magic
Creative with Kids
Creativity My Passion Critters and Crayons
De Tout et de Rien
Dilly-Dali Art Dinosaurs & Octopuses
Excited 2 Learn
Hand Over the Cookies Handprint & Footprint Art
Happy Hooligans
Heart Journey Imagination Soup
Jamie's Jumble
Kitchen Counter Chronicles Kreative Resources
Let Kids Create
Little Illuminationss Living Montessori Now
Loudness of the Lambs
Love and Lollipops  Mama, hocemo nesto da pravimo
Mama Pea Pod
Mama Smiles  MemeTales
Messy Kids
Mindful Meanderings  Mom to 2 Posh Lil Divas
Mommy Labs
Mommy Perks  Mum Paints Lives
Mummy Mummy Mum
My Creative Family  NurtureStore
One Artsy Mama
Peace Love & Rainbows  Play Dr Mom
Putti Prapancha
Rainbows within Reach  Reading Confetti
Ready. Set. Read!
Red Ted Art  Sense of Wonder
Share & Remember
Stacy Molter  Sun Hats & Wellie Boots
Teach Preschool
The Artful Child  The Chocolate Muffin Tree
The Craft Barn
The Educators' Spin on It  The Golden Gleam
The Imagination Tree
The Iowa Farmer's Wife  The Joy of My Life
The Kids Fun Review
The Outlaw Mom Blog  The Preschool Toolbox
The Seeds Network
Toddler Approved


1.25.2012

Process Art {Play Dough}

When I hear the phrase
"process art"
painting crosses my mind first
but
there is a process for all art mediums
including
Play Dough
I encouraged my daughters to explore the play dough process
by creating a sort of play dough "factory" for them

To begin we mixed up our favorite play dough recipe
(you can find it here at hands on : as we grow)
We tripled the recipe for this activity

Homemade play dough is amazingly smooth and very soft,
perfect for little hands
(find the play dough recipe that's perfect for you here at NurtureStore)
I set our tables up with tons of add-ins for the girls to create whatever they wanted

sprinkles
watercolors (in tubes)
flavor extracts
 (Dinosaurs & Octopuses suggests mixing extracts together to create amazing smells)
herbs
spices
cocoa powder
cake mix
glitter
birdseed

I also made it very clear they were allowed to get anything off of the art supplies shelf
(find more great ideas for add-ins here at The Imagination Tree)

I love this excerpt from Teach Preschool's post about 
facilitating the creative art process
When we talk about Process over Product, there are many reasons why this concept is emphasized. Part of the process is giving children choices in how they would like to create or design or draw and so on.
Here are my daughters making choices on how they would like to create
----------
C enjoyed the mixing
creating
new colors
new textures
new smells 
then she spent the rest of the time
cutting precise little squares of "brownies" to serve to Daddy

 A did a lot of
poking
rolling
adding items
(candles, googly eyes, pipe cleaners)
ripping
cutting
and even
squishing her toes in the dough
after she had her fun
she decided to eat the candles

Set up a play dough "factory" and come back to tell me what your child created
Here are a few things to ask yourself while observing:

1. How does your child first make contact with the dough?
Do they grab a huge chunk, poke it, use a tool to move it around?

2. What kind of add-ins is your child most interested in?
Colors, scents, textures?

3. Does your child like to use tools to manipulate the dough or use their hands?

4. What kind of imaginative world does your child create for themselves?
A bakery, a zoo, a construction site, etc.

Remember,
process art is for everyone
so
get your creative juices flowing and join in!

Looking for more structured play dough ideas?
Here are 34 ways to play with play dough from hands on : as we grow!


Lilypie Third Birthday tickersLilypie Fifth Birthday tickers


1.23.2012

Artterro Creativity Kit {Review}

I just knew I had to tell my readers about
Artterro Eco art kits
as soon as I landed on their site.
Artterro is a small business founded by two moms
who aim to create eco-friendly, high-quality, open-ended art activities for kids and adults alike
Their commitment is to sustainability
and they are proud to be made in the USA
Luckily, they wanted me to tell you about them!
 So, they sent us a
Creativity Kit
The girls couldn't wait to dive into the kit, look how inviting it is!
I LOVE that you can see everything that's included in the package.
There are handmade papers, 100% wool felt shapes, glass and wooden beads, sequins,  crafting threads, needles, and copper wires.
Every single kit is unique.
For a few days, we'd get out the materials and go through them
just thinking of all the wonderful things we could create
Finally, we decided
Let's make a mobile!

I started by setting out all of the materials so the girls could clearly see what they had to work with
As I was pulling the threads apart I noticed the girls were adding similar colored items onto the threads
It was a great way to get A involved,
she really enjoyed sorting the materials by color.
Both of the girls enjoyed using the needle-nose pliers to bend loops in the wires
C loved sewing beads onto the felt shapes
the sewing was her favorite part

 Even though the recommended age for the kit is 7+ my 2.5 and 4 year old were both able to help create in their own ways 
C did everything but thread the needle and tie the knots
When we started making the mobile, we didn't take into account that in order for it to hang properly it needs to be balanced.
We really learned a lot about how to construct a mobile
(for future reference)
It's better to make and balance each section of the mobile separately,
then, attach them all together at the end
making minor balancing tweaks
Balancing your mobile allows you to create wonderful asymmetrical designs

To help with balancing we either added more beads to one side 
or 
strung the wire up with the thread a little off-centered
(you can see examples of that in the wires that have a lot of loops)
When all of the mobile sections were balanced separately
I attached all of the sections together
and hung our creation from the ceiling
The girls and I really enjoyed the Creativity Kit
and
we have enough material left over to create something else!
We were so thrilled to be able to review an Artterro kit
Overall, I was extremely pleased with the quality of the materials as well as the quantity
You get a lot of items in one kit, enough to easily make more than one project.
I can't wait to try more of their kits
After all the sewing she did I know C would really enjoy the 
Wool Felt Wearables Kit

Artterro has a wide variety of products
 learn more here
Artterro has a great Facebook page where they share all the other blogs that are reviewing and hosting giveaways for their product 
be sure to keep updated by "liking" them!

You can also keep up with Artterro by joining their mailing list
Want to see what else you can create with Artterro kits?
Check out these other ideas:
Art Dolls and Collage Jewelry Kits
Wool Felt Bug Kit
Creativity Kit


*** I received the Creativity kit from Artterro for the purpose of this review. ***
***All opinions expressed are my own. I did not receive any compensation for this post.***


1.18.2012

Inspired {James Rizzi}

This week for our Inspired series we explored the bright colors and bold lines of 
James Rizzi


I first discovered James Rizzi in an unfortunate way
I learned of his recent death on Deep Space Sparkle's Facebook page.
I was intrigued by the picture that was posted with the article and had to find out more about him.
I found this neat video slideshow of some of his work
Then I found this great Skype interview he did with an elementary after school art class
View Part 2 of the interview here you can also read about it from the art teacher (conducting the interview) on her blog here.
How awesome is he!?
You can really tell he enjoyed what he did
and was interested in helping and encouraging future artists.
At one point in Part 1 of the interview, Rizzi was asked what his favorite medium was.
He responded with acrylics on canvas.
So I decided that would be what we tried.

Materials
Acrylic Paint
Paper or Canvas
(we used 100lb Bristol paper)
Black Marker

How To
To try and create a piece of work in the style of James Rizzi 
we viewed quite a few pictures of his work online.
I discussed with the girls how he painted the things he saw around him.
His home, New York City, the people he saw, and the things that made him happy.
So I asked C what she would like to paint, she chose a butterfly.
I'm not 100% sure on what Rizzi's process was, so I did what would be easiest for the girls
We drew our images on paper with pencil first
then painted in the images with our bright colors.
When our paintings were dry
we traced around them with black permanent marker.
C's finished butterfly is in the middle.

 The above method proved to be a bit difficult for C.
The acrylics were harder for her to paint with to fill in the larger spaces,
so I decided to try a simpler version of Rizzi style art.
Deep Space Sparkle has a James Rizzi Art Lesson
that uses watercolor and oil pastel
I thought C would enjoy this better since the oil pastel draws easily on the paper without a lot of pressure and the watercolor fills a larger space with less effort.
Almost instant gratification
C drew an adorable little Shrek-like person
when it came time to paint in the features with the watercolor
she was a little over ambitious and completely covered the whole person in a red blob of color.
Though we really enjoyed learning about James Rizzi and giving his technique a try, 
I discovered that C (and definitely A) are not quite ready to create in his style.
Rizzi is definitely an artist we will be revisiting in the future
He is known for creating 3D constructions
as well as 
interactive magnetic paintings (FUN!)
which consist of different backgrounds (with metal behind them) and magnetic figures that can be moved around the painting.
I think the girls would enjoy playing around with those ideas when they are a bit older.

Here are the two pieces I created using the different techniques!
What artists or art movements inspire you?

Dilly-Dali Art
Lilypie Third Birthday tickersLilypie Fifth Birthday tickers


1.11.2022

Process Art {Fingerpainting}


You might not know it
but when you let your kids fingerpaint
they are actually learning.
It's an artistic movement called
Process Art

Process art is basically allowing your child (or even yourself) to explore art, no holds barred
It's all about the process of 
finding out how the materials will move you 
and what you'll be inspired to create

I thought fingerpaint would be the perfect first post for this series
You only need two things:
fingerpaint
fingers

I set out paper at the beginning but by the time the girls were done
they were painting directly on the table

Process art is fun because you can sit back and let little hands do all the work
Though, that doesn't mean you should sit out
Take time to observe how your child thinks through the process
I took note of how C and A worked:
----------
C (who is four) did a lot of work with the tips of her fingers
A (who is two) mostly used her palms down flat
----------
A ended up with a warm palette
C finished with a cool blue ocean
----------
Both girls were completely engrossed through the whole process
there were very little words uttered

Even if you don't get a picture to hang on the fridge,
you're still benefitting through what your child is learning:
----------
Stimulated Senses: C immediately exclaimed, "It's squishy! It feels just like jelly!"
----------
Developing Hand-Eye Coordination: I noticed the girls were moving both hands in a symmetrical way, it would be fun to experiment with moving hands in different ways at the same time
----------
Color Mixing: When swirling around paints, new colors are bound to emerge
----------
Fine Motor Skills: Squishing paint between fingers will certainly strengthen hand muscles
----------
Therapeutic: Ruth Faison Shaw, who "re-discovered" fingerpaint and developed it into an art 
education medium, devoted her attention to the benefits of fingerpainting and how the process helps to free the soul
----------
Fun: No explanation needed for this one!

In the end, it's all about the experience 
and if you suddenly find yourself wanting to jump in on the fun
Go ahead, jump!
Who knows what you'll end up creating

Try some fingerpainting and come back to tell me  about your child's process!


Want to read more about process art? 

Check out these posts:
Art for Children~ Nuturestore
An Art Exploration ~ Teacher Tom
Art and Learning ~ Bernadette Rego

Lilypie Third Birthday tickersLilypie Fifth Birthday tickers


1.06.2023

Gelatin Plastic Icicles

These icicles are made out of something you would never guess...
GELATIN!
I was inspired after seeing these super cute icicles 
made out of plastic packaging from
(GREAT BLOG ALERT!)
Happy Hooligans
Here's how we made our icicles

Materials
Unflavored Gelatin
Water

--------Optional--------
Food Coloring
Plastic Wrap

How To
We've made this amazing plastic substance out of gelatin before to make 
The process is very easy: 
Dissolve one envelope of unflavored gelatin into 3 tablespoons of boiling water
Pour the solution onto something nonstick for drying,
before we used disposable plastic plates
for the icicles I laid down crumpled up plastic wrap onto a baking sheet
I just poured uncolored and the blue gelatin solution over the plastic wrap
We used 4 envelopes of gelatin for this project
This project takes a few days to dry
You can tell it's dry by the edges starting to curl up and peel away from the surface
Always check the middle though to make sure it's fully dry before peeling all the way off
The plastic wrap created some amazing texture!
C cut out icicle shapes

 We punched holes into the tops and strung them up with fishing line
creating a sort of garland of icicles hanging from our kitchen bar
The light makes them sparkle!
A wonderful winter addition to our 
and our
Lilypie Third Birthday tickersLilypie Fifth Birthday tickers