4.25.2012

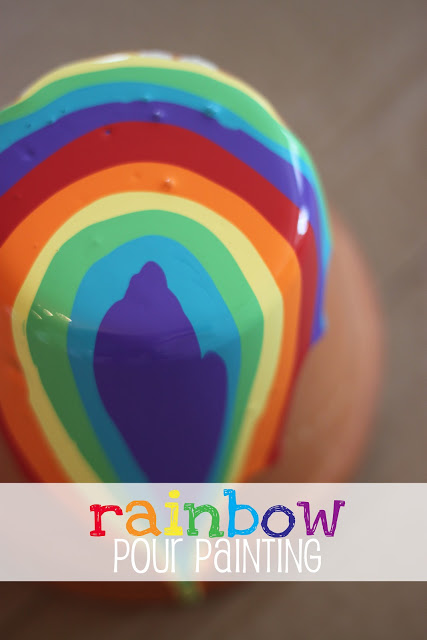
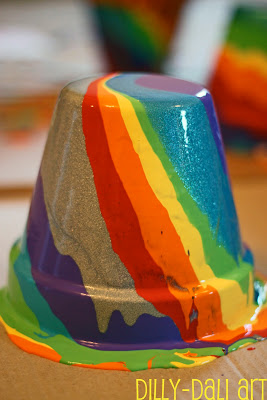
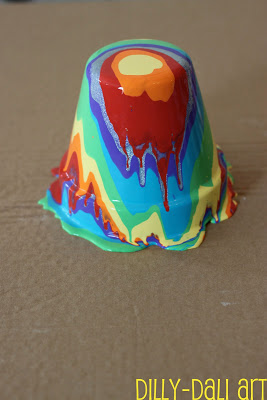
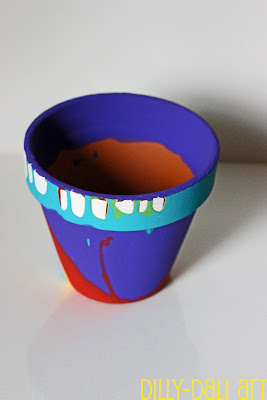
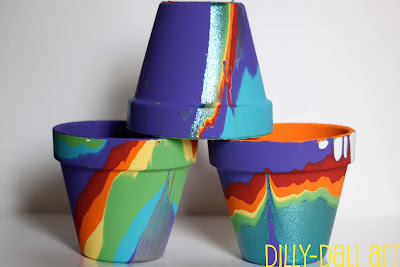
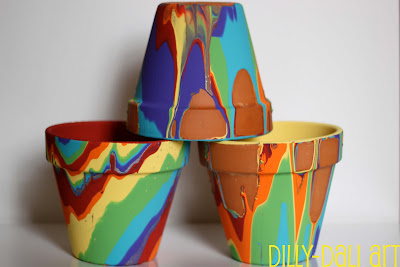
Rainbow Pour Painted Pots


I've been wanting to do pour painting again with the girls ever since
It was so much fun!

It wouldn't be very practical to have a bunch of tiny tall paintings all over the house though.
So, why not have them outside in the garden?
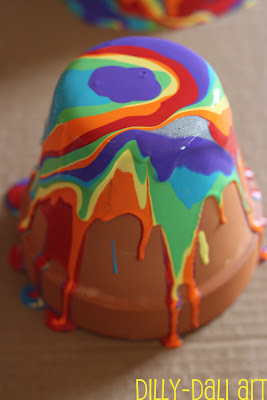
We pour painted on terra cotta pots!
and
since I love rainbows so much, we used rainbow colors!
(did I mention that this is a rainbow linky party!?!)


We used 6" terra cotta pots and 8oz bottles of acrylic paint.
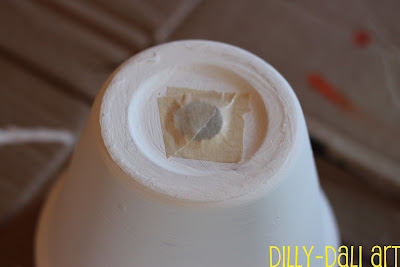
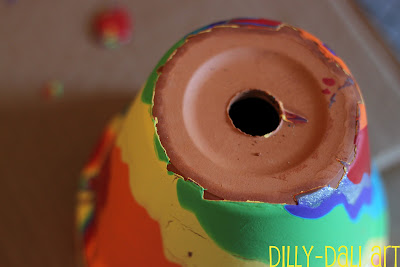
First, I taped up the whole bottom of the pot because 
I wasn't sure if the pot would sit steady with paint on the bottom


When I pulled up the tape it left a jagged edge around the bottom
so, I just taped over the hole for the rest of the pots.
I also painted a couple of the pots white, just because. 


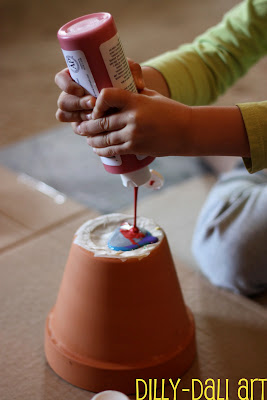
All you have to do is squirt paint on top the pot
directly in the middle.
Keep repeating with the different colors until you have the look you want.

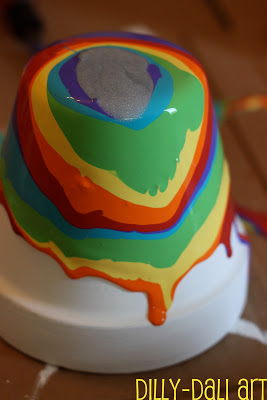
FYI, I've found that less is definitely more with pour painting.
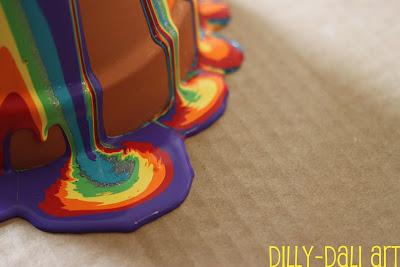
If you use too much paint, you won't get the layers of all the colors down the sides.


When the paint is dry enough and you flip your pots right side up,
you might find that the lip is a little messy looking.
Just paint around the top and the inside to clean it up.


We'll be giving these pots to the special ladies in our lives for Mother's Day.


Now it's time for you to link up your favorite rainbow posts!
Arts, crafts, food, play,
anything
RAINBOWS!


Photobucket

http://theoutlawmom.com/2012/04/24/play-best-of-kids-rainbow-art-eats-activities-blog-hop/

4.18.2012

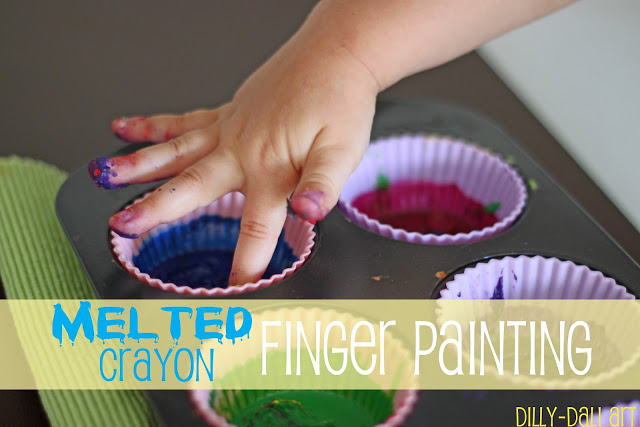
Melted Crayon Finger Painting


Recently I was using a candle and let C stick her fingertips into the melted wax.
Have you ever done that? It is so fun!
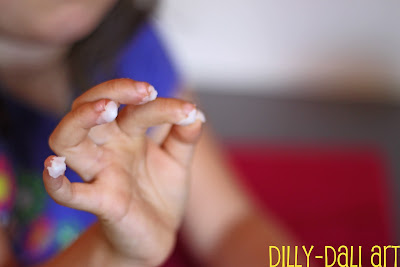
Feeling the warm wax harden onto your fingertips and then popping the wax off.

Suddenly it hit me, 
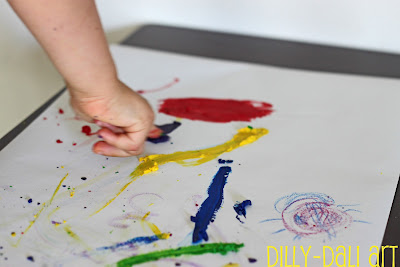
wouldn't it be fun to do that with melted crayons and draw with your fingertips!?
So, that's what we did!!

If you try this please keep a close eye on your child at all times
and
test the wax yourself before allowing little fingers to try it

Melt your crayons on low heat in the oven
Once they're melted set them aside to cool for a few minutes.
I let them cool until they were a little hard on top but still soft in the middle.
Test the wax to make sure it isn't too hot and then let the kids dip their fingers in!

The girls loved this!
They liked how the wax was warm and squishy and how it hardened on their fingertips.
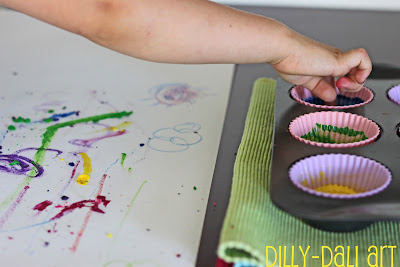
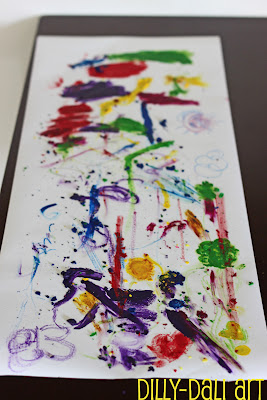
They tried "painting" with the wax still soft on their fingers and tried it after the wax was hard.

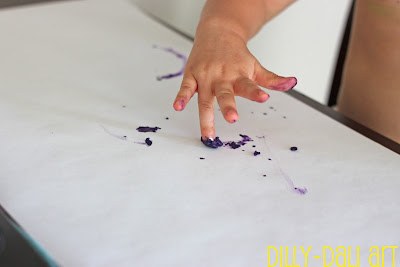
Little A liked making dots with the tips of her fingers

and dipping her fingers into the wax over and over again
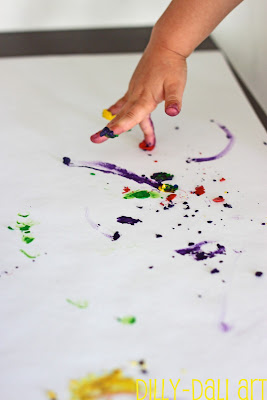
mixing all the different colors together

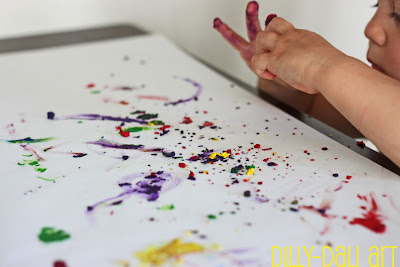
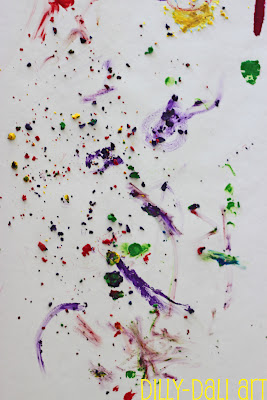
her favorite part was picking off all the hard wax
leaving tiny little pieces all over her paper

As you can see, the girls really had fun exploring with the melted crayons
and all of the wax that was leftover is now hard and shaped like little crayon cookies!

If you're nervous about letting your little ones stick their fingers in warm wax
maybe try it with paintbrushes or cotton swabs.

Have fun!
Photobucket

4.07.2023

Glob Giveaway {WINNER}

True Random Number Generator  8Powered by RANDOM.ORG


Chrissy @ The Outlaw Mom BlogMar 30, 2023 09:36 AM
Already a fan on FB, of course :-) I'd love knowing that the kids aren't playing with chemicals!
ReplyDelete


Congratulations Chrissy!
You're the winner of the Glob giveaway! 
You have 48 hours to respond before I pick another winner

Photobucket

4.06.2023

Art Party Activities {For Toddlers}


Do you want to throw an art party for your toddler but
don't want to deal with the mess of 20 two year olds running amok?

I've compiled a round-up of 10 art activities that would be fun for toddlers
and (mostly)
mess free for parents!

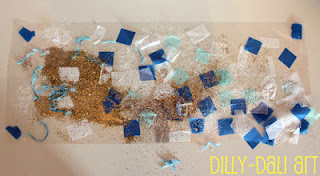
Contact Paper Collages
So simple! Just lay out some contact paper sticky side up and different collage materials to stick.
You can use pieces of tissue paper, foam shapes, glitter and even items from a nature scavenger hunt.
If it's flat and will stick, it will work.

 Contact Paper Nature Collage
The Chocolate Muffin Tree

Dilly-Dali Art

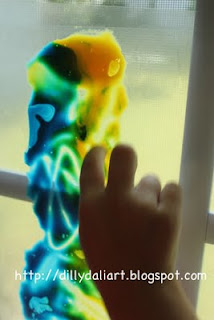
Color Mixing in Plastic Bags
Toddlers will love to squish the paint around and mix up the colors! 
You can even use colored gelatin  or hair gel instead of paint 
and contact paper instead of plastic bags

No Mess Color Mixers
No Time For Flash Cards

 (with contact paper)
Dilly-Dali Art

Spin Art
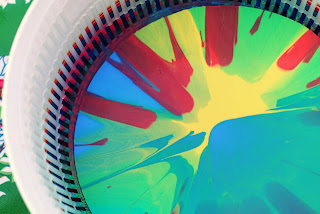
Salad spinner spin art is such a fun activity 
and pretty much mess free thanks to the lid on the salad spinner.
Just squirt the paint in, put on the lid and spin away!
Even if the salad spinner is too difficult to spin,
 toddlers will still enjoy squirting the paint in and seeing the big reveal
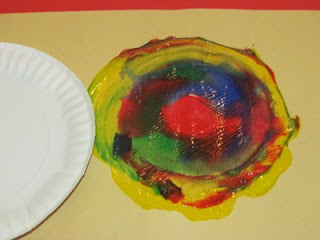
If you don't have a salad spinner, don't fret! You can still make spin art!

Salad Spinner Spin Art
a bit of sunshine

Paper Plate Spin Art
Teach Preschool

Painting with Water
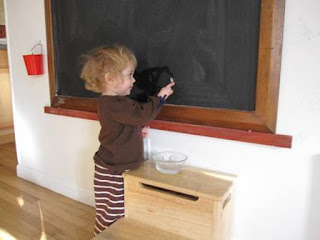
Water, paint brushes and a chalkboard is all you need for this activity. 
If you don't have a large chalkboard you can always make one with a sheet of plywood and some spray on chalkboard paint!
You can also fill some of those bottles that have sponge tips with water and use those to "paint" with

Painting with water on the chalkboard
The Artful Parent

Water Painting on Colored Chalk
The Imagination Tree

Painting with Food Coloring
There are a lot of different ways you can do this
You can paint with just the food coloring or mix it together with
milk, frosting, candy melts, evaporated milk, or egg.
You can paint the cookies before or after baking.
If you are scared of a food coloring mess, you can use the markers with edible ink instead.
If you don't want to use cookies try bread!

Cooking up rainbow toast
Teach Preschool

Painted Sugar Cookies
The Chocolate Muffin Tree

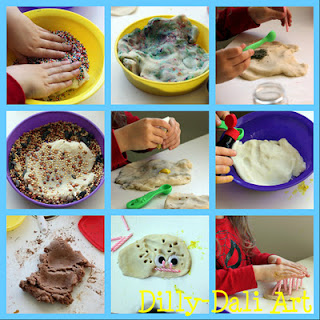
 Homemade Play Dough
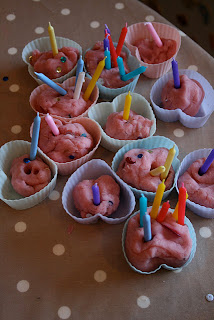
Play dough is great because it's relatively mess free and the possibilities are endless.
Making your own play dough allows you to make a large batch quite cheaply
and you'll be able to add whichever colors and/or scents you'd like!
Don't forget all the little doodads you can stick into the play dough

What's so great about play dough?
The Imagination Tree

Dilly-Dali Art

Bead Threading
Keeping little hands busy is one of the main goals of any party host(ess)
Having a beading station will help with that!
You can use chunky wooden, foam, or plastic beads,
colored pasta and even cut up straws to set out for threading 
(under supervision)
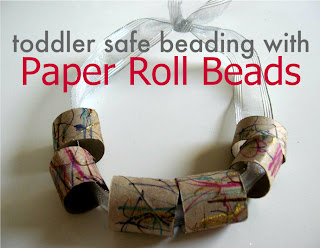
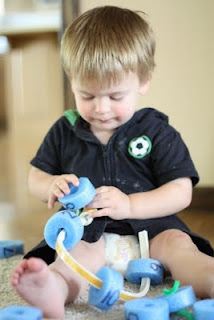
If you are concerned about choking, here are some great alternatives.
How great would it be to have toilet paper tubes set up with foam stickers for decorating
and pool noodle beads in a variety of colors would be very appealing!

Baby Bling!
No Time For Flash Cards

Big Bead Threading
I Can Teach My Child

Pipe Cleaner Sculptures
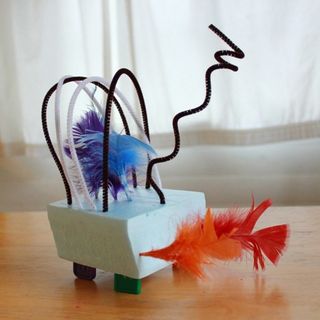
Creating sculptures with pipe cleaner is a great way to explore the process of sculpting and working in 3D.
You can set up for this activity in a snap!
If you find the tips of the pipe cleaners a bit sharp, just fold the ends over and give them a twist.

Wire Sculptures for Kids 
The Artful Parent

Discovery Box 6: Pipe Cleaners
The Imagination Tree

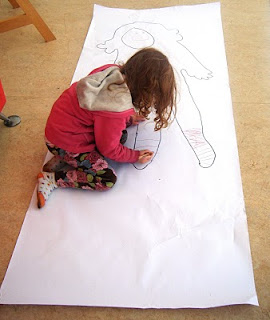
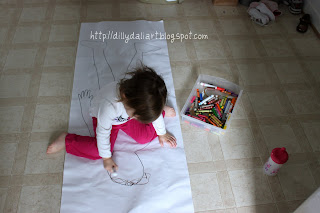
Body Tracing
I haven't met a toddler yet that doesn't like body tracing.
Set up a tracing station, let kids decorate and then take themselves home as a favor!
Anything can be used to decorate 
(depending on how messy you want to get),
 markers, crayons, paint, and stickers

body tracing
let the children play

Dilly-Dali Art

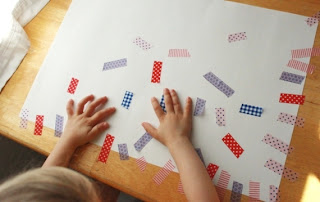
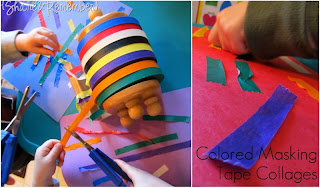
Tape Art
My toddler loves sticking tape to things. 
I bet a group of toddlers would have a bunch of fun making tape collages!
Once again, simple materials and set-up.
Tape and paper.
I think any tape will do, but colorful masking tape would be great!
Masking Tape Collages
Share & Remember

Washi Tape Art with Printed Masking Tape
The Artful Parent

There you have it! 10 art activities that are appropriate for toddlers and can be easily set up for a group.
If the thought of a messy party turned you off, I hope these activities will make you reconsider!
Art doesn't always have to equal messy
and, if you haven't tried these ideas with your toddler yet, give them a try!
Photobucket

4.04.2023

Inspired {Eric Carle}

After seeing this slideshow on how he makes all of his painted papers,
we were inspired by
Eric Carle

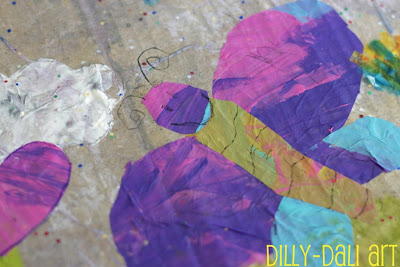
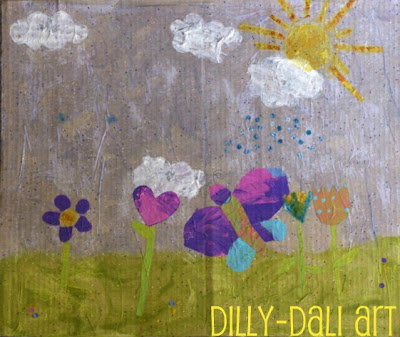
We painted paper and then used the paper to create a spring collage

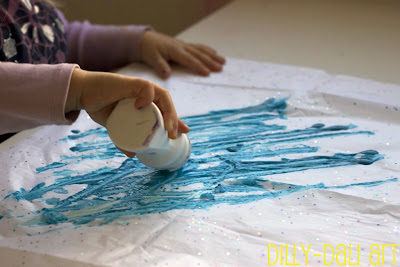
The first thing we had to do was create our painted papers

I was surprised to find out that Carle uses tissue paper, 
I really wanted to try it so,
I got out the tissue paper
 (glitter makes everything better!) 
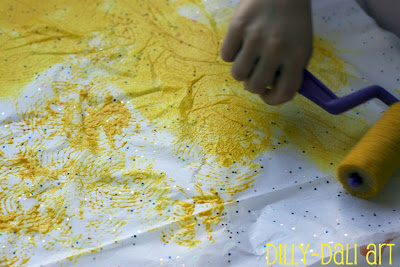
the tempera paints, and various painting tools
 then, stepped back to let the girls do their thing.
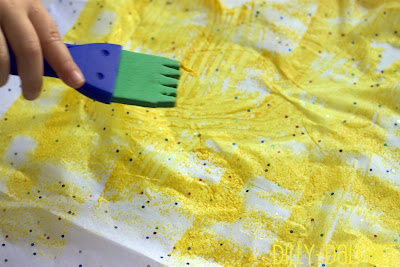
Sponges and roll-on paints

Rollers and crazy shaped paint tools

There were a few rips but mostly the tissue paper held up well.
Then, I read this 
(which better describes how Carle creates his painted tissue papers)
and found out he uses acrylic paints.

With the Inspired series, 
I really want the girls to work in the same method that the artist does
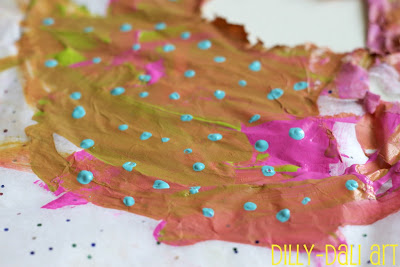
so, the girls created more painted paper with acrylics.
The acrylic went on smoothly and there weren't as many rips in the paper
(I'm thinking because it isn't as wet as tempera)

When both types of paint were dry, 
the tempera was kind of crunchy and the acrylic had a stretchy, rubbery feel.

From what I've read, Eric Carle assembles his collages on illustration board
(which I assume is similar to mat board)
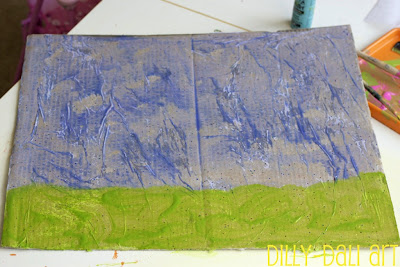
We don't have any of that so I cut out a piece of cardboard,
glued tissue paper onto it and did a paint wash to mask the brown.

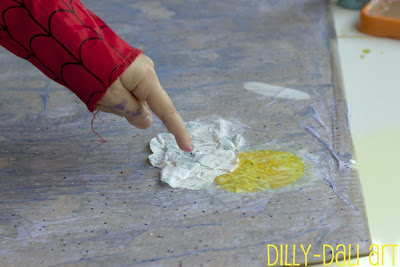
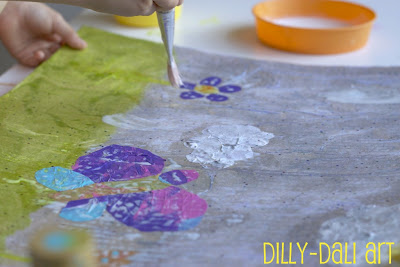
Once the cardboard  was dry, I helped the girls cut out shapes
and they pasted them on with watered down glue
(Eric Carle uses wallpaper paste)

You can see how Carle creates his collages in this slideshow


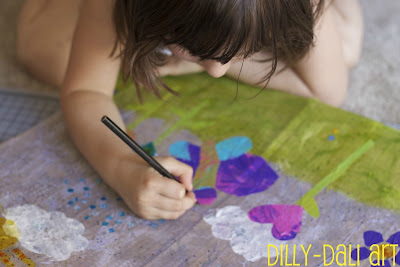
When the pieces were dry the final step was to add the details
Miss C used colored pencils to add the finishing touches

It was neat to see the collage forming before our eyes.
From the paper painting, to the shape cutting and pasting, and then adding the final details.

I think it's really awesome that Eric Carle is so willing to share his process for everyone on his website, 
and I really love that he said this
In fact, some children have said to me, “Oh, I can do that.” I consider that the highest compliment.
Thank you Eric Carle for being such an inspiring artist!
Have you done any illustrator inspired art?
Who is your favorite book illustrator? 
Photobucket

Check out the other artists we've been inspired by
Dilly-Dali Art