3.23.2011

With The Art Group: Finger Painting

So the day of our first art group meeting arrived March 23!
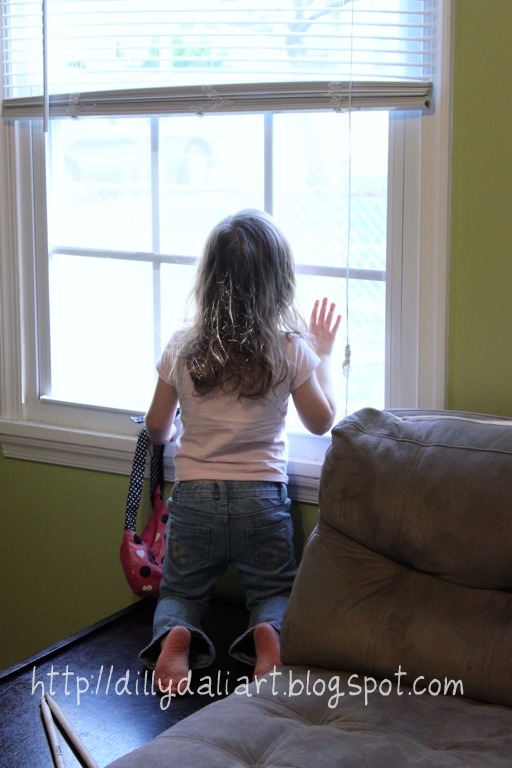
C was very excited, she was staring out the window for a good hour waiting for her "new friends" to pull up.


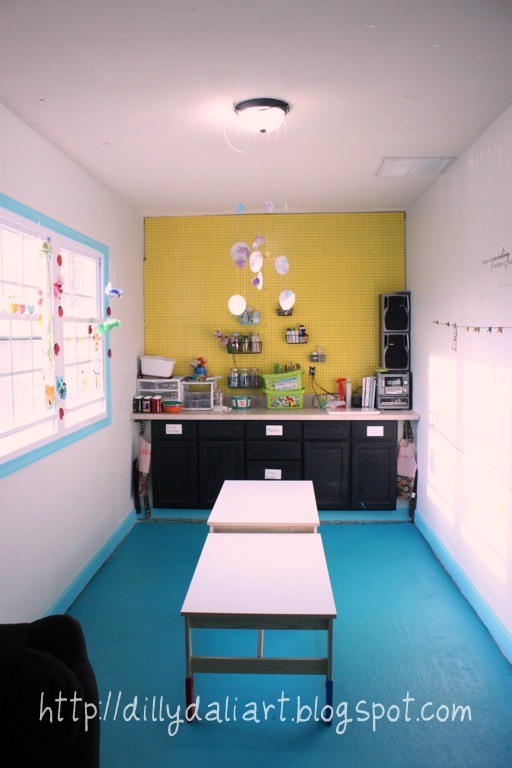
I had the art studio ready and waiting for the toddlers to come.
There are 8 children in the group ranging from ages 18 months to 3.5 years
7 girls and 1 boy...lucky Sean. 
;)

I wasn't quite sure what to expect from all the little ones as far as what they've experienced so,
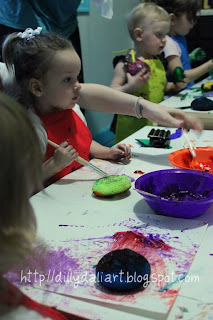
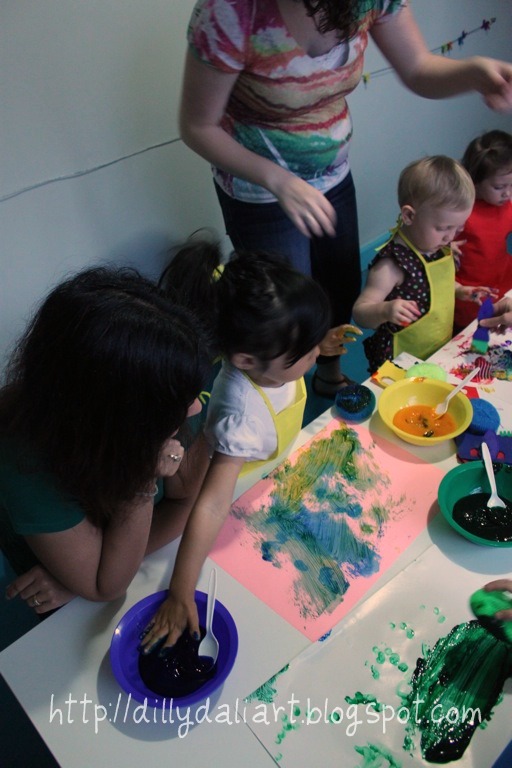
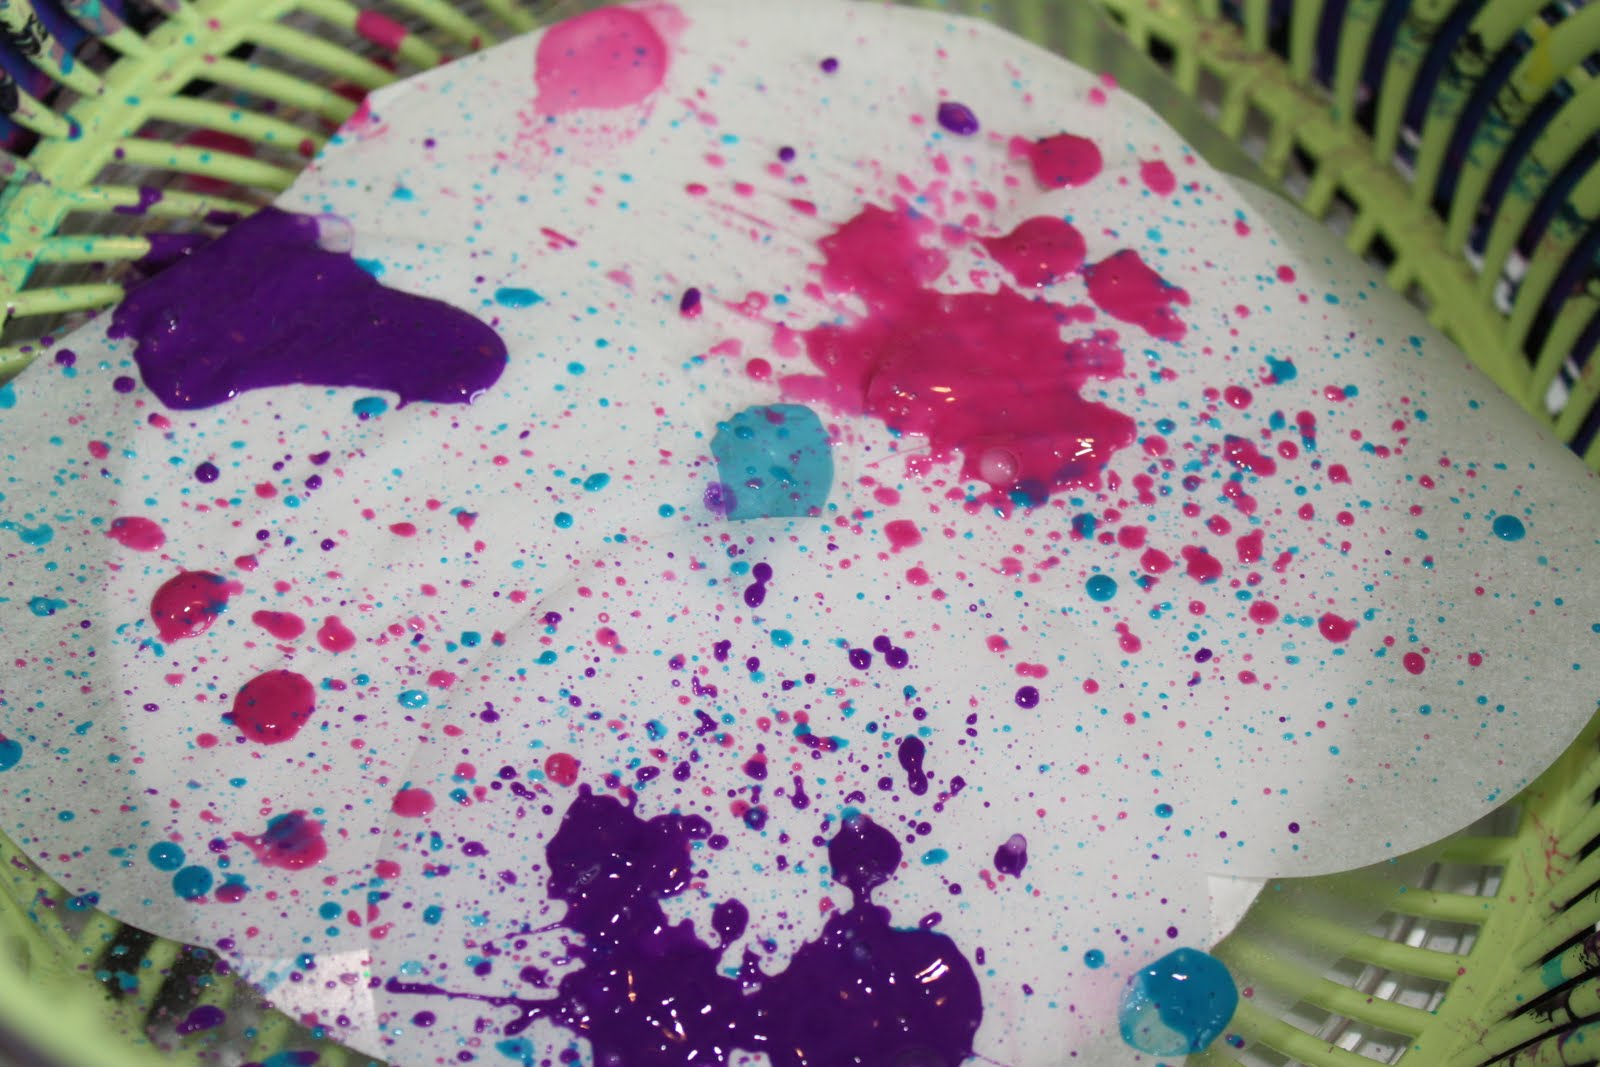
I decided to start the art group with some finger painting.
Just a simple activity to break the ice and get to know each other,
to find out who doesn't like being messy,
to see how long their attention spans would last
and to even just see what they would create with the items put in front of them.


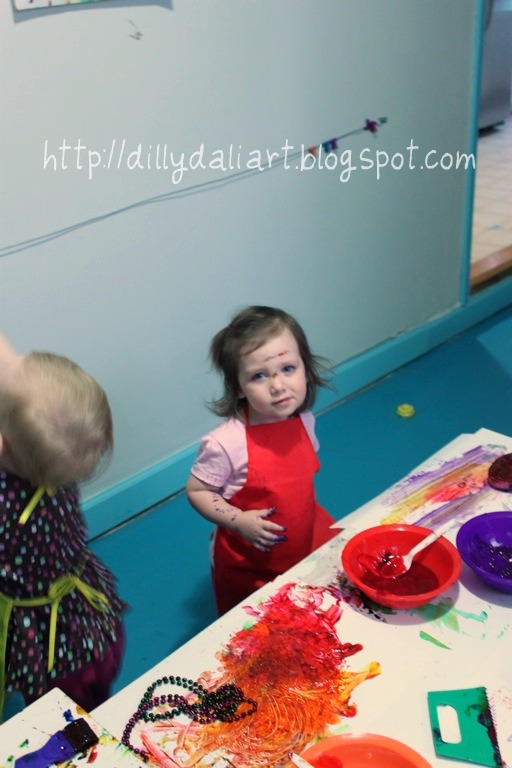
I think it went well for a first meeting
it was a bit chaotic because I wasn't as fully prepared as I thought I was but I'll learn as time goes on
I think the little Dilly-Dali(ers) had a great time
even the ones that didn't like getting messy joined in

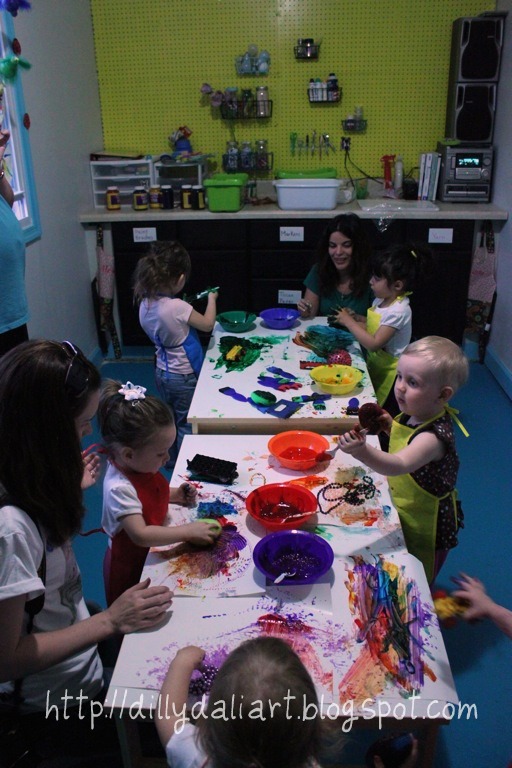
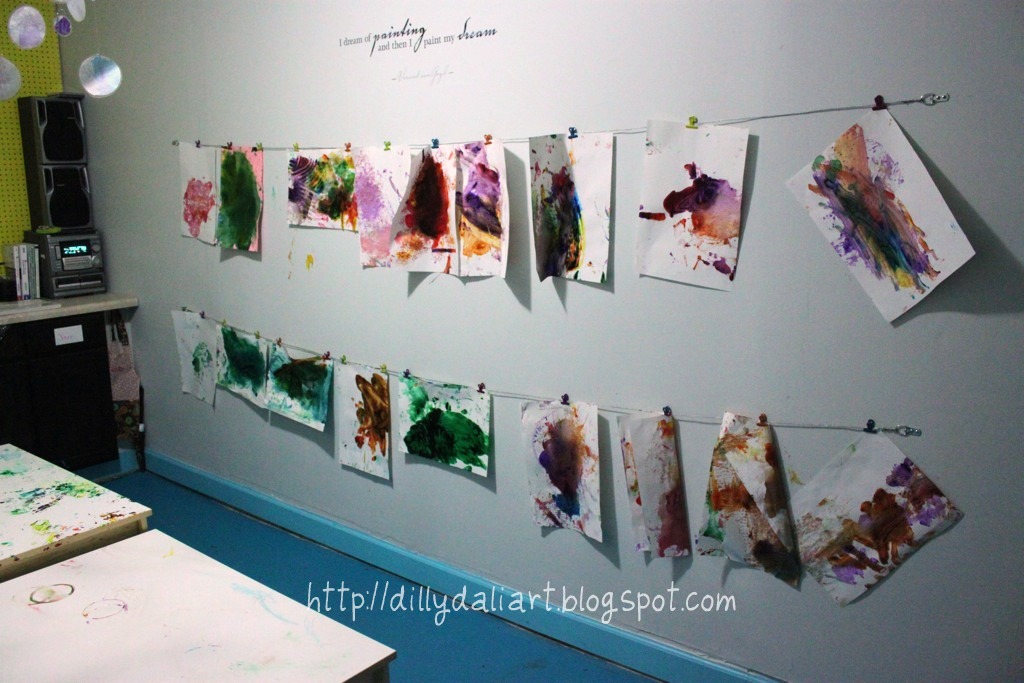
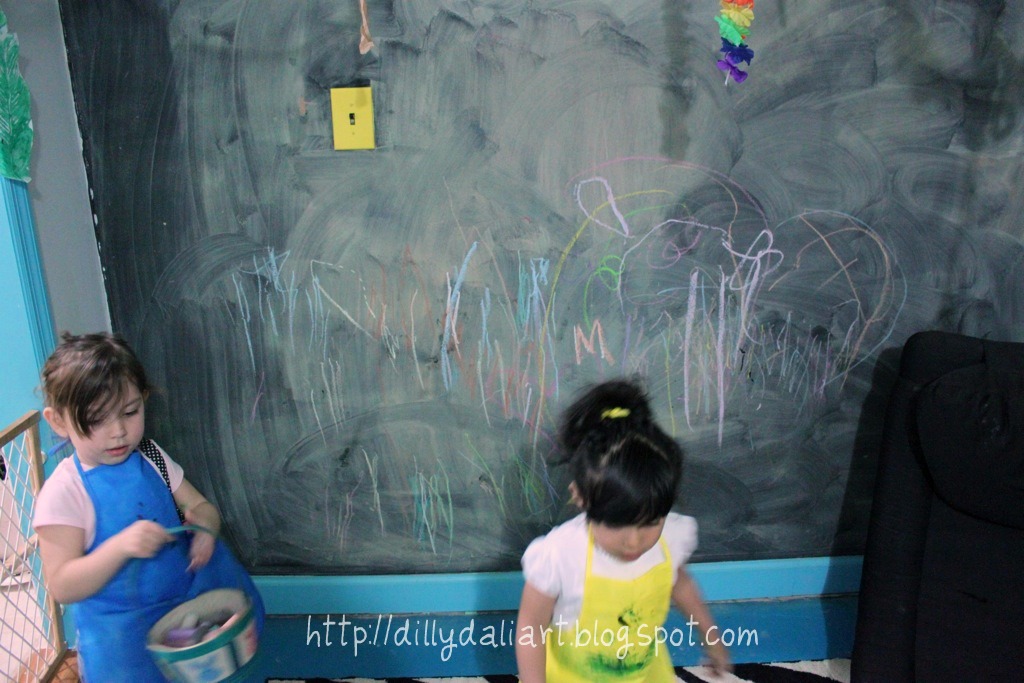
When everyone was done with painting (after about 30 minutes) they moved to the chalkboard wall

Look at all the beautiful work!

The best part about having an art group is that
 not only are the children able to experience art surrounded by their peers
but
they're also making long lasting friendships during the process.
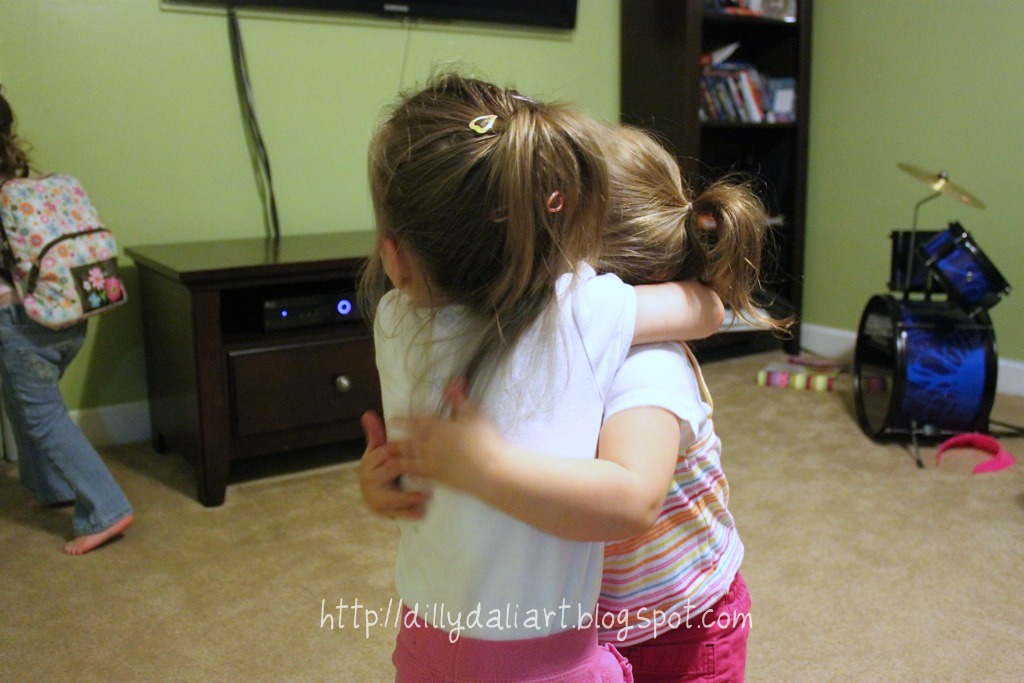
Camryn and A giving goodbye hugs

3.11.2022

Color Mixing

Check out these Color Bath Dropz by Crayola that I found at the store! I only bought a small 6 pack though, not this big 30 drop container. They are little fizzy bath drops in the primary colors, perfect for learning about mixing colors!


 First we added one red, one yellow, and one blue to each glass and then let them sit until they were done fizzing.
 I asked C how many empty glasses she thought we would need to mix and she told me three...I think she was just counting the glasses that were already out but she just happened to be right!


 I asked her what color to pour first and she suggested red and then yellow second, she then stated that she thought that the red would turn yellow when the yellow was poured into the red glass, instead we got orange...sorta...


The red was a bit overbearing to make a distinguishable orange and C thought it was red but I poured some out and added more water and it made it more noticeable when compared to the red. The green was an instantaneous change, C was amazed!


The purple was dark so it also was diluted and then C was able to tell that it was purple.


Here's our rainbow!
 After we made our rainbow we just started mixing colors together with no rhyme or reason, here's what we got (I wish I did this with the rainbow colors before mixing them up)
BTW, I will be buying the bigger container for the art studio, there's lots of fun to be had with these drops!


Spin Art Chandelier

Doesn't this kinda look like a capiz shell? Check out how we made it!


Look at this poor pitiful lonely little light fixture...


Now check out this sweet Capiz Shell Chandelier from PBteen, it would be so awesome for the art studio! 

I don't have $129.00 to spend on a chandelier though so I decided to make one of my own and it involves spin art. 

We love spin art! 

So I first cut some circles out of parchment paper with my circle cutter. I decided on parchment because light diffuses very nicely through it, it gives off a nice glow. Anywho, I took the circles and stuck them to contact paper. I was pretty surprised that I had a hard time getting parchment to stick to the contact but now that I think about it people use parchment paper to keep food from sticking so I suppose it makes sense, either way, the paper circles stuck just enough to do a quick little spin.
I had the contact paper stuck to a paper plate with some Blu-Tack for a little stability and the paper plate was stuck down to the salad spinner with Blu-Tack as well.

I recently bought these bottles (they were on clearance, I couldn't pass them up!) and filled them with watered down paint, C told me she wanted pink, blue and purple, "...and that's all!"


Before
After

I was very pleasantly surprised that the paint stuck to the contact paper very very well. Well enough that I was able to save the contact paper and stick it on the window, two projects in one!
After all the circles were spun and dried I covered both sides with contact paper, cut them out into circles (leaving a little edge of contact paper showing) and punched holes in them with a needle to thread some fishing line through.

I made a ring around the light fixture with pipe cleaners (a temporary solution with what was available) and tied the fishing line to the pipe cleaners and taped (also temporary) it up!
Then I proceeded to take a lot more pictures of the little circles than I should have because I love them oh so much!


I love how this turned out but it is a bit sparse compared to the PBteen chandelier so I think I'm going to mix mediums and also try some wax crayon sun catchers and hang them up alongside the parchment circles.